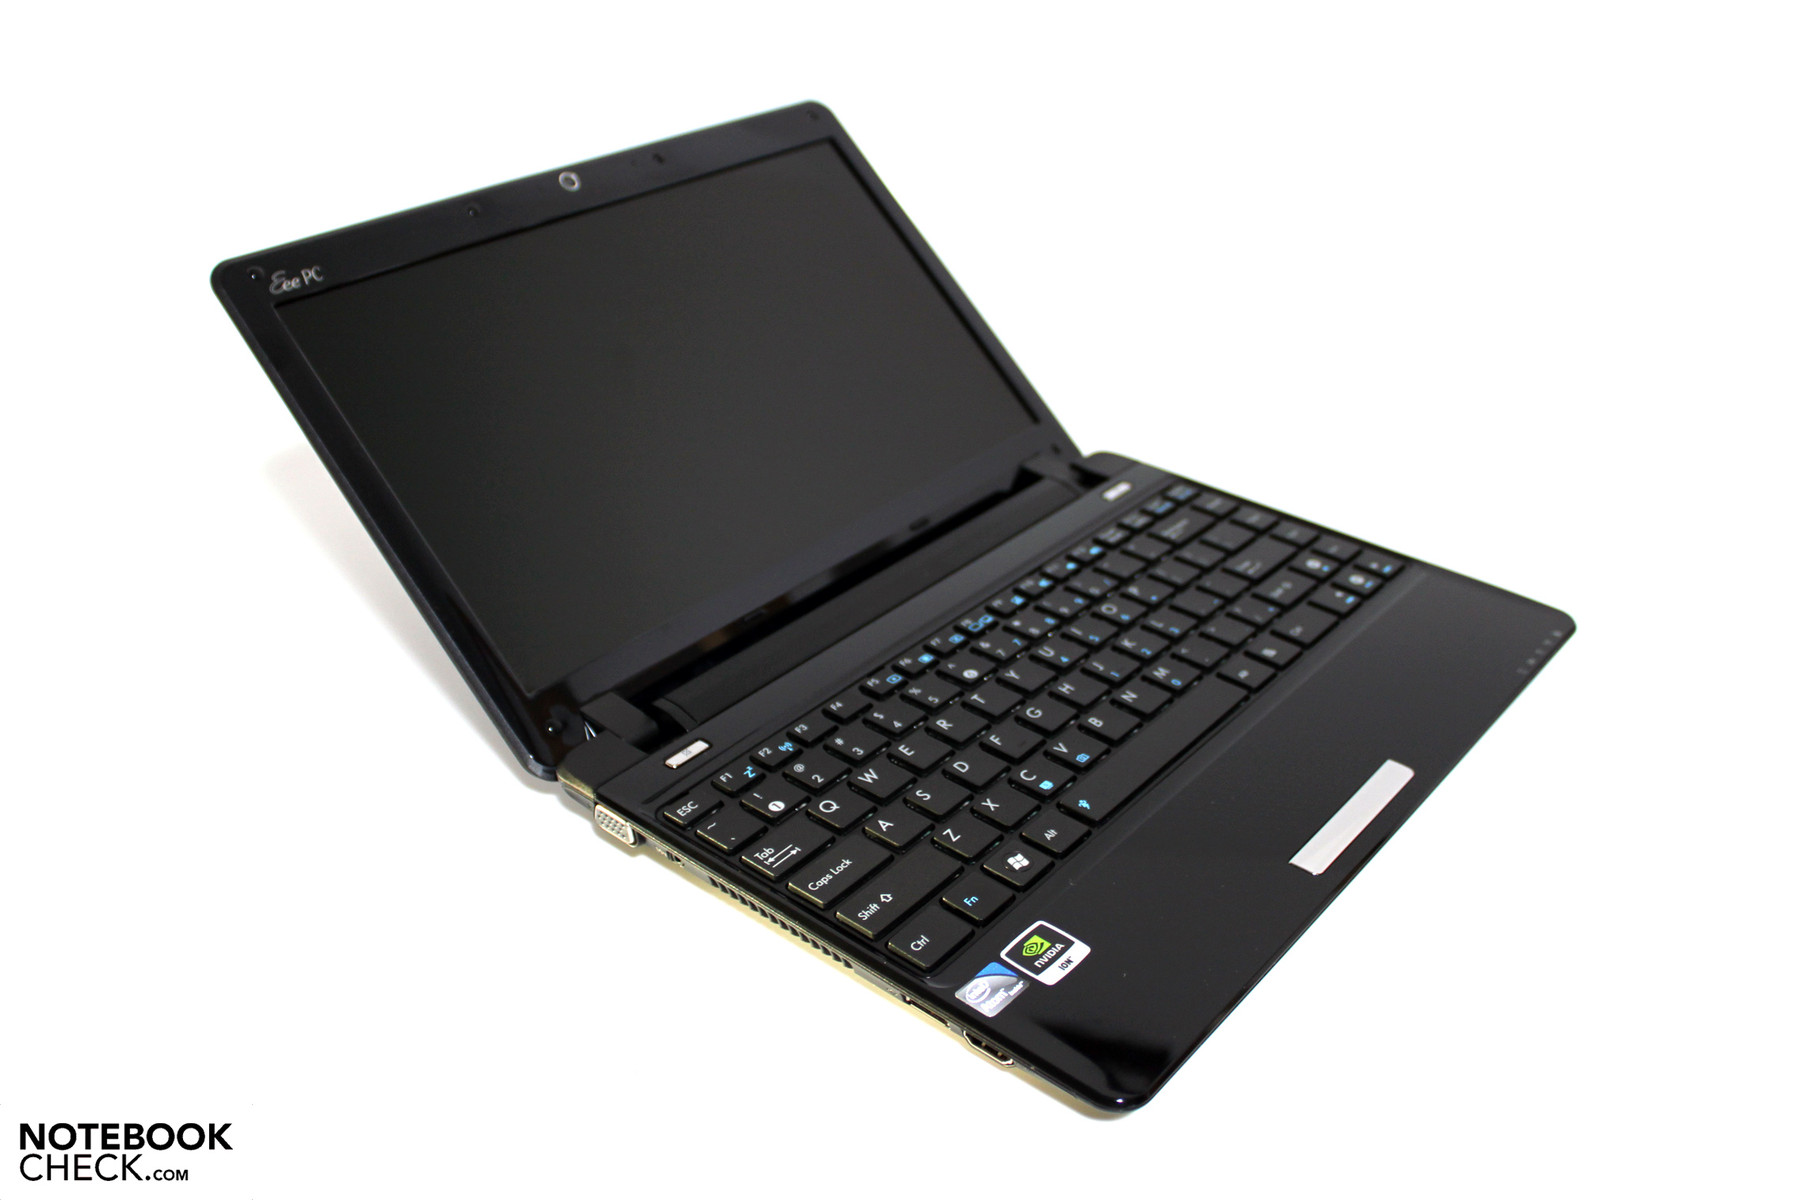
After many failed attempts to create an USB installation media using OS X 10.5.x, i decided to do a Windows-only approach. To my surprise, this was a straight winner!
I have to give credits to the excellent guide from mosslack, which this method partly relies on.My guide will show you how to install OS X Snow Leopard 10.6.4 on an ASUS 1201n without using a Mac or a buggy Vmware machine. The only hardware requirement is a PC with Windows XP, Vista, or 7 and two flash drives.
Pre-Installation CheckInstallation should be performed using a system memory of 2GB (trust me - otherwise you will fail). Upgrade of memory can take place after you have installed the system. Also the BIOS should be set to default settings prior to OS installation.
You will need- An image (iso or dmg) of a retail OS X 10.6.0 DVD
- Transmac (14-days trial)
- My slightly patched Notebookinstaller 0.8.4 RC1 bootimage (see attachments)
- Mosslack's 1201N install files from here
- Snow Leopard 10.6.4 Combo Update
- Large USB flash drive with at least 8GB
- Small USB flash drive with at least 128MB
Step by Step Guide
Step 1Attach your flash drive (>= 8GB) to your PC. Open Transmac. Right click on the flash drive and select 'Format with Disk Image'. Now select the Snow Leopard Retail image. If its a .dmg file be sure its not compressed (you can expand it with the same software).Transmac will write the image to your flash drive. This takes about 40 minutes.
Step 2Once the writing process is finished, remove the flash drive and insert the small one. Now repeat the process, this time using NBI_0.8.4RC1.img (extracted from the rar file).
Step 3Now attach both flash drives to the usb ports of the 1201N. Make sure you have resetted the BIOS to the Default Settings. Turn on the Netbook and press 'ESC' at the bios screen to manually choose boot medium. You should see both USB drives in the list. If not, reboot and repeat until both drives are recognized. Select to boot from the smaller flash drive. After 30 seconds, you will be presented a grey boot screen allowing you to choose the boot media. You will probably see an icon that reads 'Windows NTFS' and one that says 'MAC OS Install DVD'. Choose the latter. If it fails to load up to the boot screen, just repeat the process pressing 'ESC' while the bios loads.
Step 4The Mac OS installer will now start up. If everything went ok, you will be presented the language selection screen. Now follow
Steps 3 and 4 of mosslack's guide. Note that in contrary to mosslack's guide, our installation method will allow the process to finish completely and display an 'Installation Success' message. After that the Asus will automatically reboot. When the Netbook has rebooted and you see the bios screen turn it off with the power button.
Step 5Remove the flash drive with the OS X installation on it, leaving the small flash drive in place. Power on the Netbook, press 'ESC' and choose to boot from the flash drive. If you dont see it in the list do a power cycle with 'Control+Alt+Del' and repeat.
Step 6You will presented with the grey boot screen from Step 3. This time choose to boot from you newly created OS X partition on your harddrive.
Step 7Snow Leopard will now boot for the first time from your harddrive. It will play the opening video without sound.
Now finish the installation by following mosslack's guide starting at
Step 6.
Have fun with your excellent Hackintosh Netbook!
To contact me, please log in with your google account so you can see the contact form!


